How to start a blog: A step-by-step guide for beginners
Today I’m showing you how to start your own blog! I’m aware that many of my visitors already have their own blogs, but there are still some who don’t. I have so many tutorials and stuff planned but I figured I’d go back to basics with this post. This tutorial is for starting a paid blog, but I do plan on making a post about starting a blog for free as well.
Just in case you’re curious about my credentials, I have a bachelor’s degree in Communication Technology, I work full-time as a web developer, and I’ve been creating content and websites for over 15 years. So yeah, I have some experience here! I’m excited to share this info with you guys and I hope it can help you.

Before you start
Why do you want to start a blog? Are you looking to meet new people? Launch your career? Make money? If you’ve already decided to start one then you must already have a reason. Whatever it is, it’ll likely influence every decision you make throughout your blogging journey.
Some people will tell you not to start a blog for money, and only for passion. Personally, I think it’s fine, as long as you’re being genuine and honest with people. Just don’t expect to get rich from it, because that’s pretty unlikely, to be honest.
Either way, blogging is a ton of work. To be successful you’ll need to put in a lot of time and dedication, but it’s so much fun and you can meet so many awesome people.
There’s a ton of information out there that I’m trying my best to condense down into this quick start guide. So it may be a little overwhelming. That’s ok! Just follow the basic steps I have here and you’ll be fine. ?Ok, let’s get started!
1. Choose a niche
In the blogging world, niche is just a fancy word for blog topic. So the very first step here is to decide what you wanna blog about. You can blog about anything:
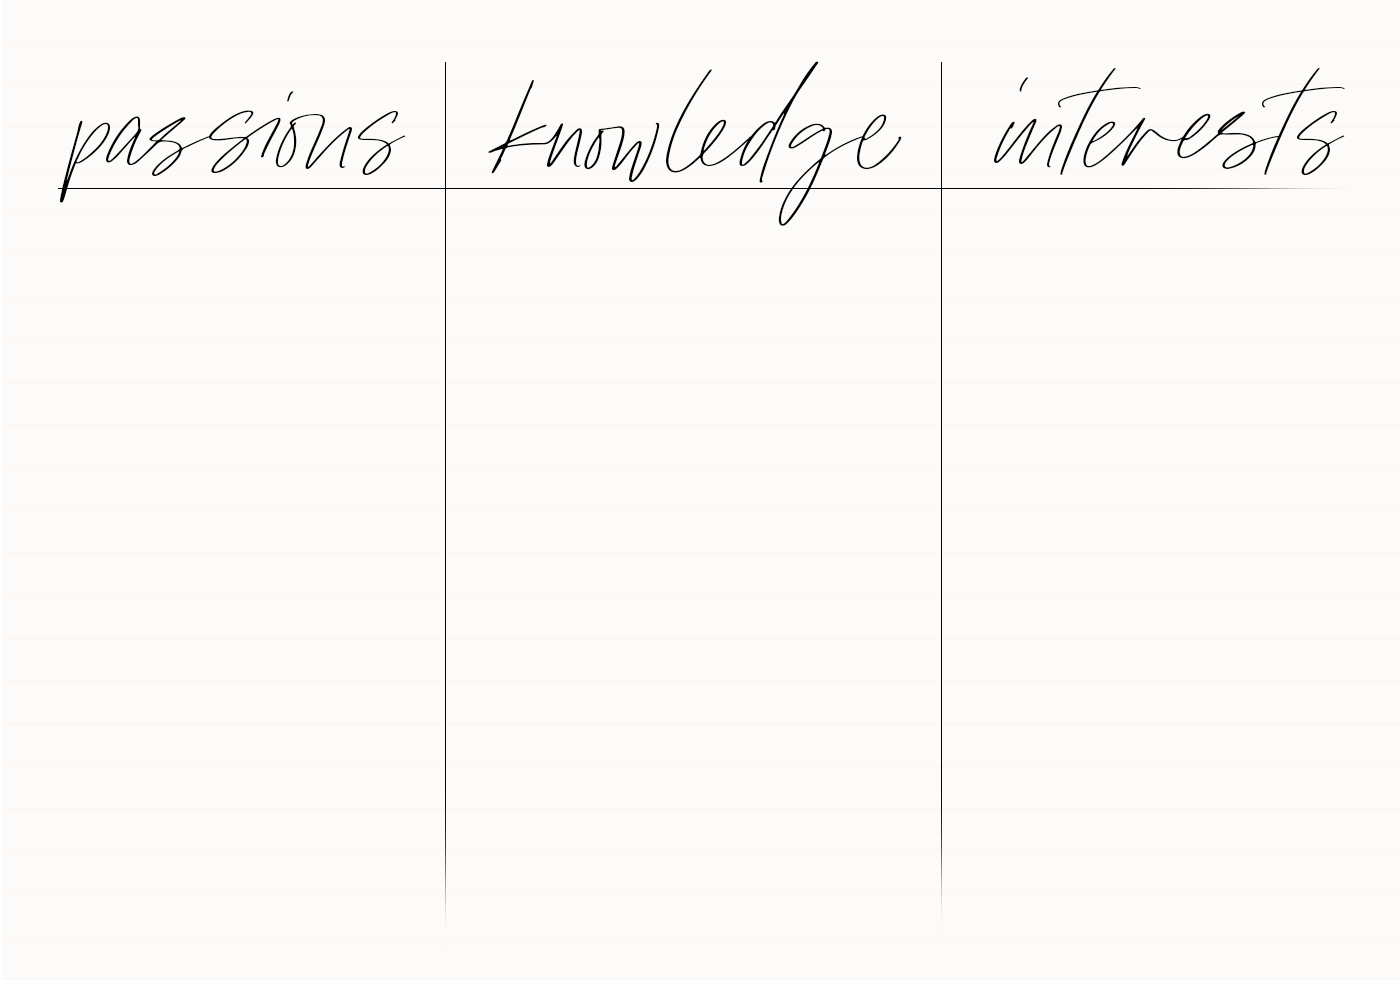
- Something you enjoy doing or talking about (passion)
- Something you’re good at or know a lot about (knowledge)
- Something you’d like to learn more about (interest)
Or a combination of the above! You can go with a more specific niche like YA books, or a more broad niche like beauty. You can also choose your niche based on the audience, like female solo travelers, for example. Just know that it’ll be easier to grow your blog if you focus more on a specific theme (what’s your “thing”?) or on helping a particular audience with their problems (how can you help people?) instead of trying to be everything for everyone.

Once you choose a niche, get a piece of paper and try to write out at least 10 blog post ideas in less than 15 minutes. If you can’t come up with enough ideas, then you may need to do some more thinking on your niche or your purpose.
Whatever you choose, it should be something that you can talk about A LOT without getting tired of it. Because with a blog, that’s exactly what you’ll be doing. ?
2. Name your blog
Naming your blog is honestly one of the hardest steps in this process. Unless you already have one in mind, it’ll drive you completely insane if you let it. But it’s best not to stay stuck on this step for too long. Just sit down with a pice of paper and write out a bunch of words that describe you and the blog you wanna create. Think about what makes you unique. Come up with different combinations and use a Thesaurus to find more words if you need to. Here are some different types of names + examples for inspiration:
- Your name (Ell Duclos, Paige Backstage)
- Play on words (Almost Makes Perfect, Homey Oh My)
- Descriptive (Oh So Geeky, Everyday Reading)
- Metaphoric (A Beautiful Mess, Ruth in Revolt)
Once you choose your name you’ll have to make sure you can get a domain name for it. You can run a quick check at Google Domains to see if the .com extension is available. Always go for the .com if you can, but if the domain isn’t available then you may want to choose another name. But you don’t really have to — these days there are so many other extensions to choose from. It’s up to you! For me, the .com I wanted wasn’t available but I loved the name so much that I just bought .co instead.
While you’re at it, you may also want to check social media handles to see if those are available, and if not, come up with different variations for those too (or, again, choose a different name). You can use a tool like Knowem for that.
Oh and one more thing: you’ll want to do a Google search of the name you pick just to make sure there aren’t any other blogs or businesses using the name that you might clash with. So for example, if you name your book blog Books A Million then you’ll probably run into an issue at some point since that name is trademarked.
3. Purchase domain + web hosting
In this tutorial I’ll be showing you how to set up a self-hosted WordPress blog. This means you’ll purchase your domain and hosting directly from a provider and maintain it yourself, as opposed to paying for more of a turnkey setup (like WordPress.COM or Squarespace). Think of your web hosting company as your landlord and your domain name as your PO box address where people can reach you no matter where you are. Which means you can think of self-hosting as buying a space you can fully customize yourself, as opposed to buying it already set up for you. (I hope this analogy makes sense!) Doing it this way just gives you more freedom, in my opinion.
Normally, I would tell people to always purchase a domain name separate from their web hosting. It’s cheaper and it’s easier to move your domain later on if you decide to switch hosts. But if you’re a beginner, I recommend that you just register your domain name and hosting together so you can get started quickly and easily. For newbies, I think the extra cost is justified by the convenience. So that’s what I’ll be showing you today. FYI: If you still want to register your domain name separate, I recommend Name.com!
My blog is currently hosted with Siteground, so that’s the company I’ll be featuring in this tutorial.
Siteground currently has 3 shared hosting plans. I recommend the StartUp plan for beginners! It includes 10gb of web space and has many of Siteground‘s amazing features like free daily backups and a free SSL certificate. I’m personally using the GrowBig plan, which allows multiple websites under one account and included a free website transfer. Exactly what I was looking for.

Click the “Get Plan” button to start your order. Enter a domain name to register a new one, or if you’ve already registered one you can select “I already have a domain” and enter it in. Click “Proceed” to move on.

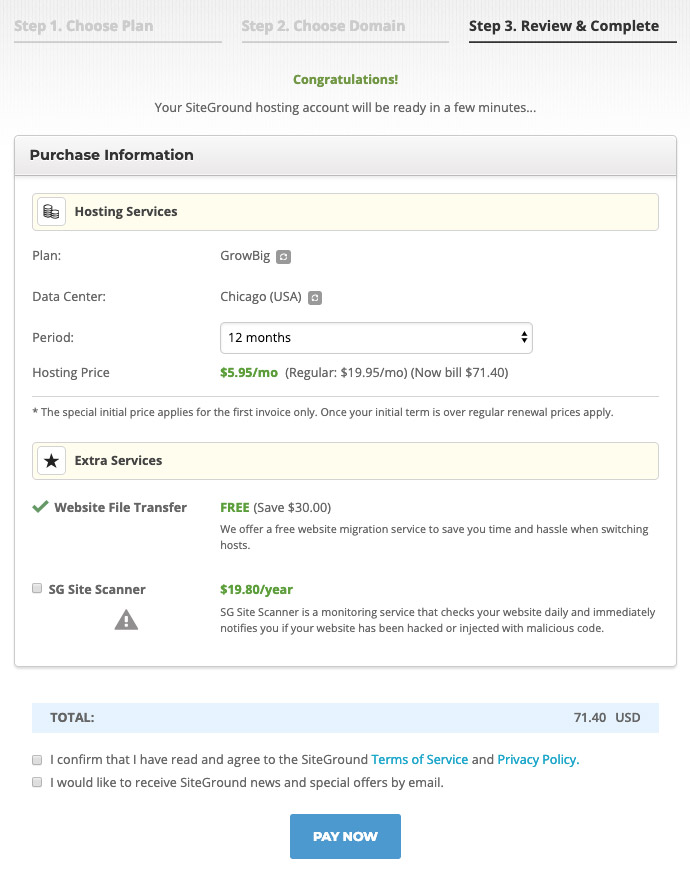
On the purchase information page, you’ll see all of your order options. You can decide how long your billing cycle will be (starting at $3.95/month for 12 months) and whether or not you want domain privacy (for new registrations). Once you’ve agreed to the terms, you can click “Pay Now” to enter in your payment info.
You DO have to pay your entire billing cycle up front and they don’t currently have monthly payment plans. That’s not typical, as most hosting companies at least have some kind of monthly plan. But it is nice to not have to worry about the hosting bill each month. It’s just something to consider if you’re on a budget.

Now you’re ready to get started! 😀
4. Install WordPress
WordPress is the program you’ll use to manage your blog and website. In this case, it doesn’t come automatically set up and you’ll need to install it. Siteground makes it super simple to do this from right inside your control panel when you log in to your account. It should be pretty easy, but if you need help with it, they have great tech support that can help you get your WP install up and running.
5. Choose and install a blog theme
The WordPress theme directory has plenty of free themes available to choose from! Spend some time looking through them and you’ll surely find one that works for you.
If you’re looking for a premium (paid) theme, I’ve been using the Genesis Framework for years and I highly recommend their child themes. Restored 316 and 17th Avenue are my favorite shops for clean and feminine Genesis WordPress themes!
6. Write and publish your first post!
Now you’re ready to go! Remember that list of blog post ideas you made in Step 1? Well it’s time to use it. Choose an idea from your list and get started writing!
Still looking for ideas? Check out my list of 50 entertainment blog post ideas for lifestyle bloggers to get you started!
Further reading:


